How to Draw Obito Uchiha Drawing in 8 Easy Steps

Spread the love

Today, we are here to teach you Obito Uchiha drawing (うちはオビトの描き方) with our helpful tips and tricks.

The life of Obito, from being a boy full of life to a dangerous criminal, saddened our hearts. No one from us could disagree that Obito deserved the world in a silver tray, but he got a disdainful tragic end instead.

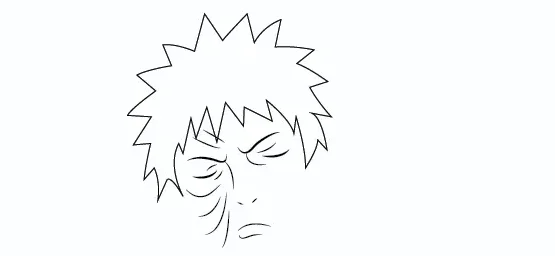
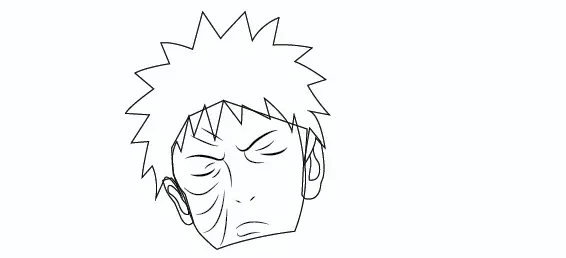
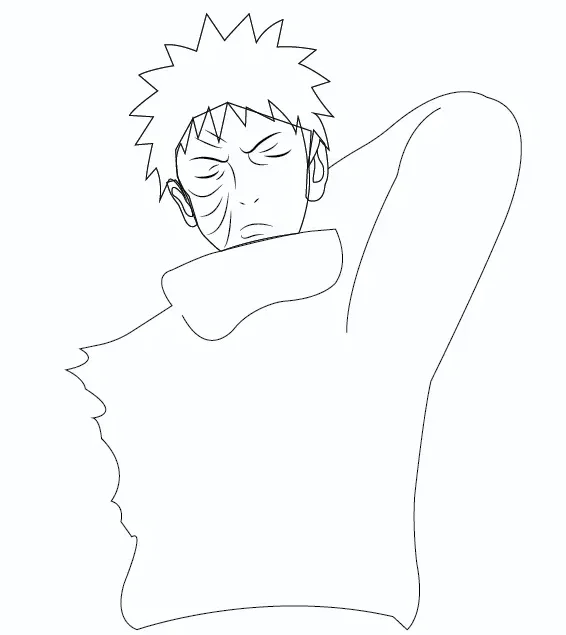
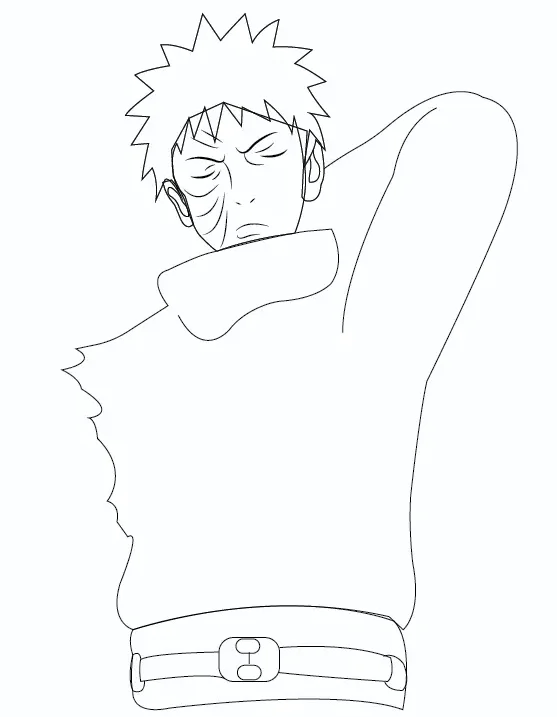
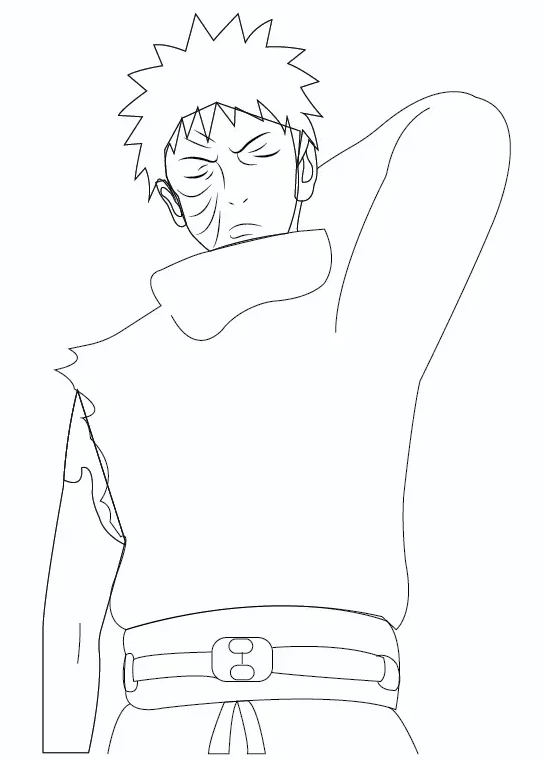
Before starting the step-by-step drawing guide, look at this quick glimpse of the drawing and make an idea of the whole trajectory.

Note: Are you a person who loves watching videos rather than reading blog posts? or Slow at reading but learns fast via videos?
If yes, then click on this link Obito Video Tutorial.

Let’s start!

Step 01: Draw the Hair of Obito Uchiha Naruto

First, draw Obito’s hair which is short and spiky.

Step-1-Draw-the-Hair-of-Obito-Uchiha-Naruto

Read:

Step 02: Draw Facial Features and Scars

In this step, you will draw the following:

  • Draw his closed eyes along with eyebrows.
  • Draw the shape of the nose and the two dots representing his nostrils.
  • Draw his lips.
  • Draw his scars which are on the left side of Obito’s face.

Step-2-Draw-Facial-Features-and-Scars

Read:

Step 03: Draw the Face line and Ears of Obito Uchiha

In this step, you will draw the face’s shape and his ears.

Step-3-Draw-the-Face-line-and-Ears-of-Obito-Uchiha

Read:

Step 04: Draw his Dress and Hand

  • Outline his right hand, which is bent towards the shoulders back.
  • Sketch his collar and the sleeveless cut on the right side.

Step-4-Draw-his-Dress-and-Hand

Read:

Step 05: Draw the Belt

Draw a wide belt on his dress which Obito is wearing on his waist.

Step-5-Draw-the-Belt

Read:

Step 06: Draw the Lower part

In this step, Outline the lower part of the dress in the same position as shown in the picture below.

Step-6-Draw-the-Lower-part

Read:

Step 07: Draw the Left hand

Draw the shape of his left hand

Step-7-Draw-the-Left-hand

Read:

Step 09: Fill Colors in the Obito Uchiha Drawing

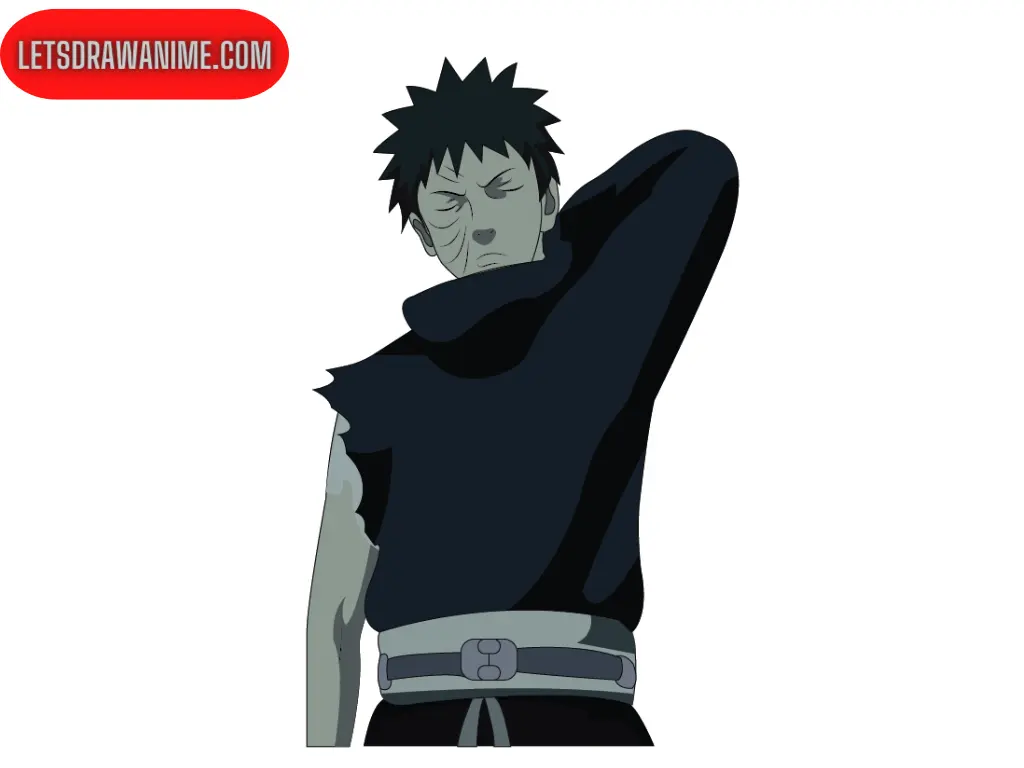
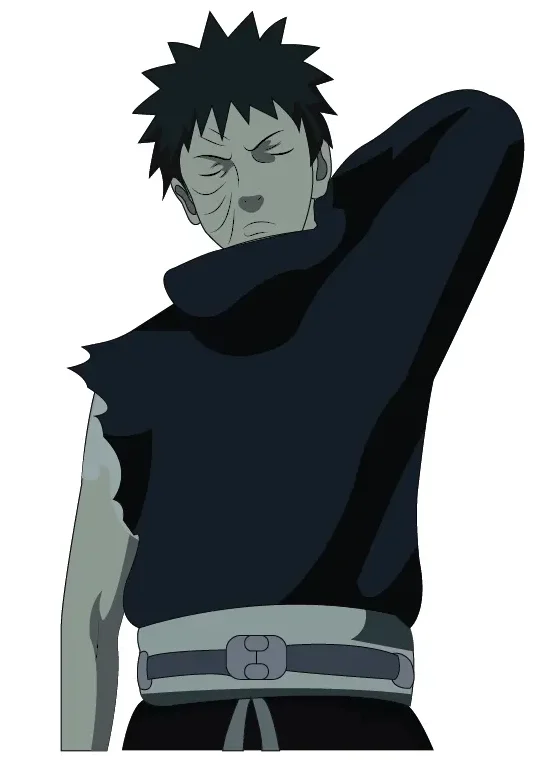
Now to see the final picture, fill colors in the Obito drawing

Step-9-Fill-Colors-in-the-Obito-Uchiha-Drawing

Yeah, finally, our Obito drawing is ready. We have done the Obito Uchiha drawing by following the above step-by-step tutorial.

It’s fun to draw an Obito character with our easy step-by-step guide. We hope you liked our drawing tutorial, and it would greatly help you teach the perfect character image of Obito.

Share your thoughts in the comment section on the Obito drawing tutorial, and remember to like and subscribe. See you soon with more amazing drawing tutorials. Till then,

Keep up the love for Anime!

Happy learning!

Happy drawing!

Read:

Few other drawing tutorials from the Naruto Shippuden Series that you shouldn’t miss!

x